I have been making this recipe since I came across it in the 2004 Asia cookbook of the British travel writer and photographer Alastair Hendy. We are now blessed with many more cookbooks exploring Asian cuisine. Hendy’s book was a gateway for me though, and this recipe has remained a constant over the past two decades.
It is essentially minced meat as a base for the combined zing of lime juice, chilli, fish sauce, lemongrass and Thai basil. Like some of the best dishes, it adapts to personal taste easily. I like mine with some crunch from the toasted ground rice and fried onions. And Thai basil makes a big difference.
Drink
A crisp, dry Riesling from Clare Valley in South Australia (Tony’s home state).
Substitutions
Larb is usually made with chicken or pork but most proteins work. Meera Sodha offers a version with oyster mushrooms in her latest book Dinner.
Tip
Fresh lemongrass and lime leaves both freeze well, so buy multiples as you will want to cook this again.
Alastair Hendy’s chicken larb
To serve four
Quantity Ingredient
2-3 tbs uncooked rice
3 sticks of lemongrass, hard outer layers removed
kaffir lime leaves, stalks removed
Vegetable or rapeseed oil
6 fat cloves of garlic,
finely sliced
500g minced chicken
5 tbs lime juice
2 tsp caster sugar
2 tbs fish sauce
2 red chillies, chopped finely (can use more or less according to desire for heat)
A handful of Thai basil, chopped
A handful of coriander, chopped
Fried, crispy chopped onion (shop bought, or sliced shallots fried until crispy)
Make the toasted rice. Take the raw rice and toast in a dry saucepan until light brown. Then grind in a mortar and pestle, or coffee/spice grinder, to a relatively fine consistency.
Finely chop the lemongrass and lime leaves, and fry them in oil until a little frazzled or softened.
Remove them and place on a plate with paper kitchen towel to drain the oil.
Fry the garlic slices in oil, until golden, taking care not to burn or darken. Then drain on some kitchen towel.
Fry the minced chicken until cooked through and the liquid from the meat has been reduced.
Mix the lime juice, caster sugar, fish sauce and chillies together.
Mix everything together in a bowl. Adapt to your taste — more chilli or more lime juice etc. Serve with rice.
350 g long beans or French green beans, cut into 2 inch pieces 4 cloves garlic, chopped 1 Tbsp oyster sauce 1 Tbsp soy sauce 1 tsp Golden Mountain sauce or Maggi Seasoning (or sub extra soy sauce) 1 tsp shrimp tomalley (“shrimp paste”), optional 1 ½ tsp sugar ¼ tsp white pepper ¼ - ½ cup water 1 salted duck egg
Instructions
In a small bowl mix together oyster sauce, soy sauce, Golden Mountain Sauce, and shrimp paste, if using.
Cut the salted duck egg in half through the shell. Using a spoon cut one half of the egg yolk into chunks and then scoop out the chunks. Scoop out the other half in one piece and slice into wedges.
In a wok, sauté garlic in a little vegetable oil until it starts to turn golden brown. Add the beans and toss quickly. Add about 1/4 cup of water, the sauce mixture, sugar, and white pepper; stir until the beans are done to your liking, adding more water if needed.
When done, toss in the chunks of salted duck eggs. Serve on a plate, top with wedges of salted duck eggs. Serve with jasmine rice or as a side dish to any meal!
Bring plenty of water to a full boil; you need enough to submerge your rice by about an inch.
While the water is heating, wash your sticky rice by placing the rice into a large mixing bowl, add plenty of room temp water and swish the rice aggressively with your hands to dislodge loose starch. Pour off the cloudy water and repeat the washing 3-4 times until the water runs mostly clear. Doesn't have to be crystal clear.
Drain the rice well and then put the rice in a heat proof bowl.
Once the water comes to a FULL rolling boil (not a simmer!) pour the water over the rice until it comes up about ½ - 1 inch above the rice. Give the rice a stir to break up any lumps, and let it soak for 20 minutes.
While the rice is soaking, prepare your bamboo Steamer. Put your steamer basket to soak bit of water so that the rice will not stick to the bamboo basket.
Meanwhile, set up your steamer and bring your steaming water to a boil.
Once the rice is done soaking, rinse the rice with cool tap water to remove any starch that has come out during the soaking, then drain.
Place the drained rice into your steamer over boiling water - make a hole in the middle so that the rice cooks evenly. Place cover and steam for 15 minutes.
Set a timer for 15 minutes. After 15 minutes - take the bamboo steamer and flip the rice
Break the rice in middle for even cooking and steam for another 10 minutes.
10 medium sized shrimp, or as many as you like (to sub other protein, see note 5)
2 eggs
2 ½ cups bean sprouts, loosely packed
10 stems garlic chives, cut into 2” pieces
¼ cup roasted peanuts, roughly chopped
1 lime
Garnishes and condiments for serving: chili flakes, roasted peanuts, bean sprouts and garlic chives.
(In Thailand, fresh banana blossom is sometimes served on the side of pad thai. I don't love them personally, but if you do and can find them, go for it!)
Add palm sugar to a small pot and melt over medium heat.
Once sugar is melting, keep stirring until it darkens in colour (see video for colour). Immediately add water, fish sauce, and tamarind paste—sugar will harden immediately, this is okay.
Bring sauce to a simmer, then turn off heat.
The hardened sugar will not have dissolved at this point, but let it sit while you prep other ingredients and it should be dissolved by the time you need it.
Check that it is dissolved before you start cooking!
TO MAKE PAD THAI (SEE NOTE 6):
Cut drained noodles once with scissors so they are half as long. This makes them easier to toss and separate in the wok.
In a bowl, combine tofu, garlic, shallots, preserved radish, dried shrimp, and chili flakes.
Heat a wok or a large nonstick skillet over medium heat and add just enough oil to coat the bottom. Sear shrimp, or whatever protein you're using, until done and remove them from pan.
In the same wok over medium heat, add a little more oil if needed, then add everything in the tofu bowl and sauté for a few minutes until garlic starts to turn golden and shallots are wilted. If the wok looks dry, add a little more oil. (Don't skimp on oil otherwise the noodles will clump up together.)
Turn heat up to high then add noodles and sauce. Keep tossing until all the sauce is absorbed.
Once sauce is absorbed, you can turn off the heat and taste the noodles for doneness. If they're still undercooked, add a little more water and continue cooking, being careful not to add too much water!
Once noodles are done, push them to one side of the pan. Add add little extra oil to the empty space and add eggs. Break yolks, then put noodles on top of eggs and cook for about 30 seconds. Flip and toss to mix eggs into noodles.
Toss the cooked protein back in (unless you're using shrimp and want to place them on top when plating). Then add bean sprouts, garlic chives and half the peanuts. Turn off the heat and toss until well mixed.
Serve immediately with a lime wedge and extra peanuts on top. For a classic presentation you can add a little extra side of bean sprouts and some garlic chives garnish.
Be sure to squeeze a bit of lime on top before eating!
Notes
Do not use the black, sticky "tamarind concentrate" that is a product of India as it is a much more concentrated version and cannot be used in the same way in this recipe. Make sure you either make it from pulp as shown here, or buy the brown paste that is a product of Thailand or Vietnam.
You can soak noodles in advance, drain, and keep them well sealed in the fridge for a few days.
I use Erawan brand noodles. Some brands, such as Thai Kitchen, have thinner noodles, so I would soak them only until the noodles become white and completely pliable (no resistance when bending); check them at 30 minutes. I would also use only 1 Tbsp of water in the sauce and you can always add more when cooking needed (I show you when to do this in the video).
Thai SWEET preserved radish is made from daikon radish and it is a difficult ingredient to find unless you have a well-stocked Thai grocery store. You can instead used chopped Japanese “takuan” which is also a sweet preserved daikon radish; it’s the yellow pickle you often see in sushi rolls. There also exists the SALTY version of the Thai preserved radish and they look exactly the same as the sweet, but do not use the salty kind as it will be too salty. See text above on how you can turn the salty kind into sweet.
If using chicken, pork or beef, slice into bite-sized pieces and marinate them with just a bit of fish sauce or soy sauce so the meat isn't bland.
You can make a big batch of sauce in advance and store indefinitely in the fridge. When ready to use, you will need 5 oz (150ml) of sauce for this recipe.
If making large amounts, don’t crowd the pan or noodles will steam too much and become mushy. I recommend cooking no more than 3 servings at a time in a wok (1.5 times this recipe), and less if you’re using a small pan.
Whisk together 3 tablespoons vegetable oil, 2 tablespoons fresh lime juice, and 2 teaspoons fish sauce. Toss with 6 celery stalks, thinly sliced on a diagonal, 3 thinly sliced scallions, 1 thinly sliced red chile, such as Fresno, 1 cup fresh cilantro leaves with tender stems, and 1/4 cup chopped roasted, salted peanuts.
Although you could use a different type of fish, like a tilapia, red snapper, or a grouper, the most commonly used fish for this dish in Thailand is a pla kapong (ปลากะพง), which in English is a barramundi.
Fish come in many different sizes, ranging from 1 kilo or less, to huge.
Make sure your fish is scaled and gutted, which you can either do yourself, or have the butcher do before hand.
Steaming the fish
Using a steamer device, or whatever you can come up with – Pai and I used my mother in laws big sized old wok – you’ll need to place some water in the bottom, elevate the fish on a plate above the water, and still have enough space to place a cover over the pan or wok to seal in all that steam.
Steaming is a really fun style of cooking, because you can really create or homemake your own steamer… just as long as there’s somehow boiling water at the bottom, and that the thing you’re steaming is elevated above the steam of the water, and there’s a seal to keep in all that steam.
One of the worst things about steaming fish is overcooking it. It goes from potentially marvelous to horrible.
So it’s really important to keep watch over your fish when you steam it, and and know about the right length of time that you’ll need to steam it.
For a medium sized 1 – 2 kilo fish, the target steam time is about 10 – 15 minutes. But you do want to monitor it, especially right about the 10 minute mark so it doesn’t get overcooked.
To check the fish, take a fork, and press the meat of the fish. It shouldn’t be slimy, and it should be firm to the touch. Also, take a look, and make sure the fish has turned white in color as opposed to the transparent look of raw fish.
The lime, chili, garlic sauce
For the next part of this recipe, we’re going to make the sauce. And keep in mind that you can make the sauce while the fish is steaming so that both parts of the dish are ready to assemble at the same time.
Pai told me that using chicken stock elevates the flavor of the soup – and so we used fresh chicken stock. Although you could also use canned chicken stock if needed.
In a saucepan, bring the chicken stock to a quick boil, then toss in the palm sugar, and stir until dissolved. That’s it for the cooking. Turn off the heat, and then pour the broth into a mixing bowl.
In the mean time, start preparing what I consider my two favorite ingredients in the world: chilies and garlic.
Peel 2 heads of garlic and then coarsely mince them, they don’t need to be too fine, and sometimes when you order pla kapong neung manao (ปลากะพงนึ่งมะนาว) at Thai restaurants, they will even leave the cloves almost whole, or in slices. So you can chop the garlic whatever size you want, but a coarse mince is a good idea.
For the chilies, use a good handful, and you can use as many or as few as you’d like.
We used about 6 Thai birds eye chilies in the recipe this day, though I would have been quite happy with a few more handfuls.
Dice the chilies and then set both the garlic and chilies aside.
Juicy limes are best
Go back over to the bowl of chicken stock and dissolved palm sugar, and add in the fish sauce, freshly squeezed lime juice, chopped cilantro, and then toss in the minced garlic and chilies, and mix around carefully.
The broth should still be warm, and it will just slightly wilt the garlic and chilies, without cooking them, so they will still retain their wonderful raw harshness.
Make sure you taste test the sauce, it should be sour enough to make you close your eyes, and balanced out by the sweetness of the palm sugar. Add more sugar, lime juice, or fish sauce as needed.
It’s important to know that the sauce is should somewhere be in-between a sauce and a soup – in Thailand it’s eaten more like a soup.
Time to combine the fish and sauce
Assembling the fish and sauce
The final process of cooking pla kapong neung manao (ปลากะพงนึ่งมะนาว) is to assemble all the fish and the soup.
In Thailand often the fish will be served in an elevated pan with fire on the bottom to keep it hot. The fish shaped pan looks pretty cool, but isn’t necessary.
However, you really do need to find some kind of pan or platter that can fit the fish, and that has edges to be able to accommodate all the lime juice sauce / soup.
You’ll need plenty of garlic
Pai recommends tearing off some leaves of Chinese celery to garnish the bottom of the fish. Our fish was so big that we had to use a metal serving tray, which worked out quite perfectly.
Fresh fish with lime, garlic, and chilies – amazing!
Gently scoop out all the chilies and garlic and chunky ingredients of the sauce over the fish, and then pour over the rest of the lime juice sauce, making sure to coat and cover the entire fish.
That’s it!
Make sure you have some fresh steamed rice to go with it, and then start digging into the fish. You can take bites right off the side of the fish, eat with rice, and then follow with a spoonful of the sour lime juice soup.
----------- 8 ---------------
Steamed Fish With Lime and Garlic Recipe (ปลากะพงนึ่งมะนาว)
Pla kapong neung manao (ปลากะพงนึ่งมะนาว), or Thai steamed barramundi fish with lime sauce, is a favorite seafood dish for many Thais. Make this recipe at home and you're in for a real steamed fish!
Instructions
Make sure your fish is scaled and gutted, and then score the fish with 3 diagonal incisions on each side of the fish. Cut off the top halves of the lemongrass, bruise, and stuff the lemongrass into the cavity of the fish. Steam the fish over high boiling water for about 10 - 15 minutes depending on the size of your fish.
In a saucepan, heat the chicken stock until it comes to a boil, and then toss in the sugar, reduce heat, and boil until the sugar is completely dissolved. Pour the mixture into a bowl and set aside.
Mince the garlic, chilies, and cilantro, and mix into the chicken stock soup, along with fish sauce and lime juice. Stir gently and then taste test. Make sure it's sour, and balanced with a hint of sweetness.
When the fish is fully steamed, transfer it to a serving platter (with edges to keep in the soup), garnish with a bed of Chinese celery, and place the fish on the platter. Gently scoop on all the sauce over the fish, putting most of the garlic and chilies on the top of the fish.
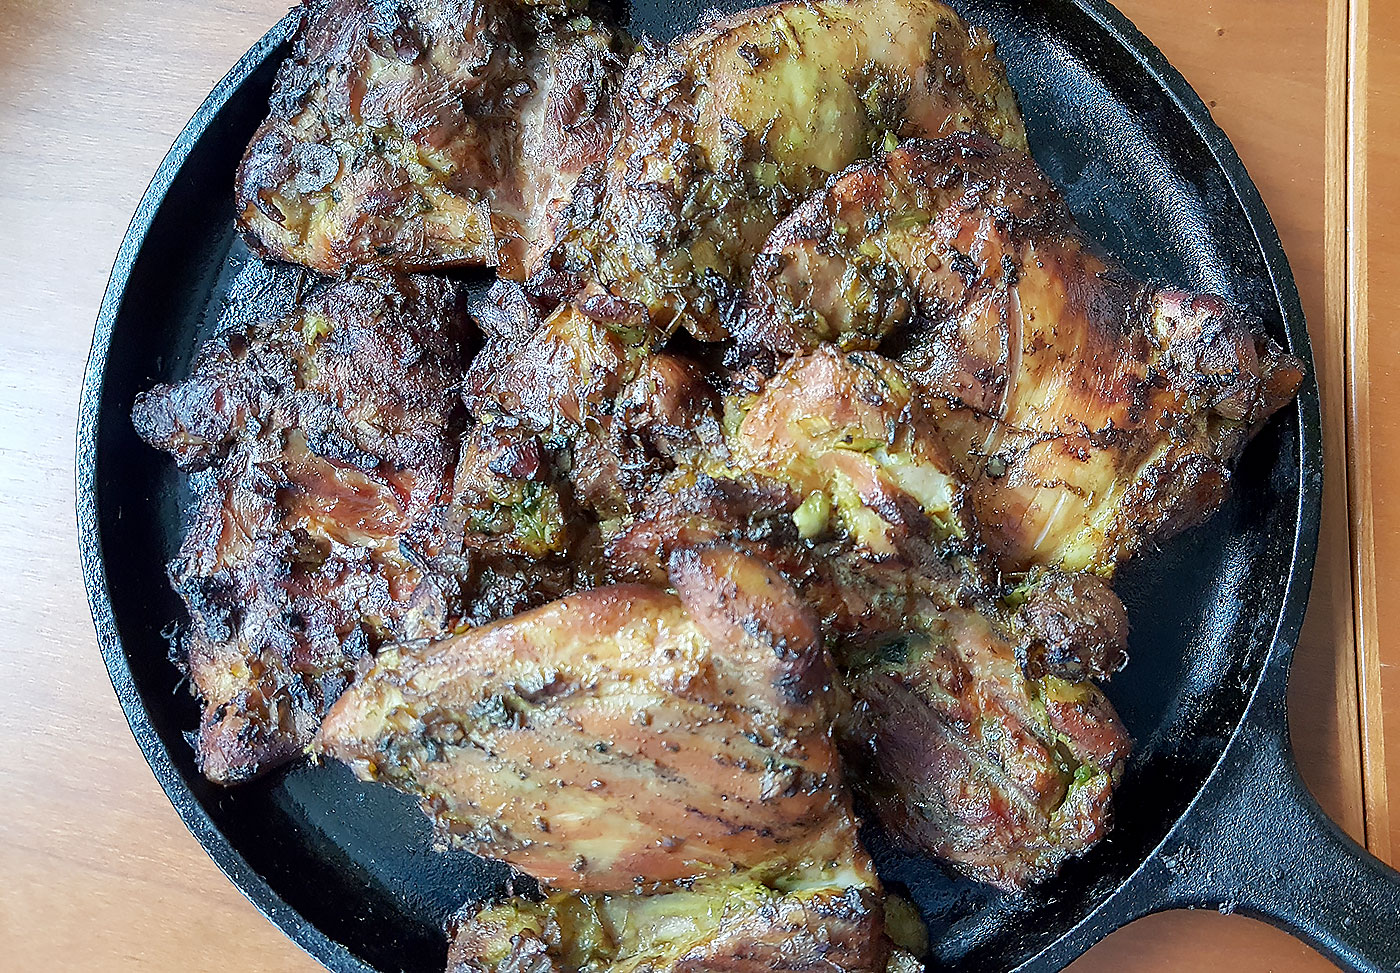
Isan, or Isaan is a northeastern region of Thailand, bordering Laos and Cambodia that has its own style of food. Not that it stems too far away from the main culture, but I find it to be a bit spicier, and commonly the food is eaten with sticky rice (known as khao neow). This grilled chicken is common in the region and is one that you will really love, whether you grill it (preferred) or bake it until you have crispy skin. I have made variations of this style of chicken over the last 15 years or so, but this one is a bit different as I brined the chicken in advance to make it even more juicy. If you are looking for in introduction into Northern Thai cooking, and one without a ton of spice but packed with tons of flavor.
Isan Grilled Chicken Recipe
I used boneless, skinless chicken thighs on this particular recipe, but feel free to use a halved chicken, or spatchcock a chicken and go that route, especially for a crispy skin.
Ingredients for the brine:
1 gallon of water
1/2 cup of kosher salt
1/2 cup of white sugar
1 whole chicken, cut into pieces, or 6 boneless and skinless chicken thighs
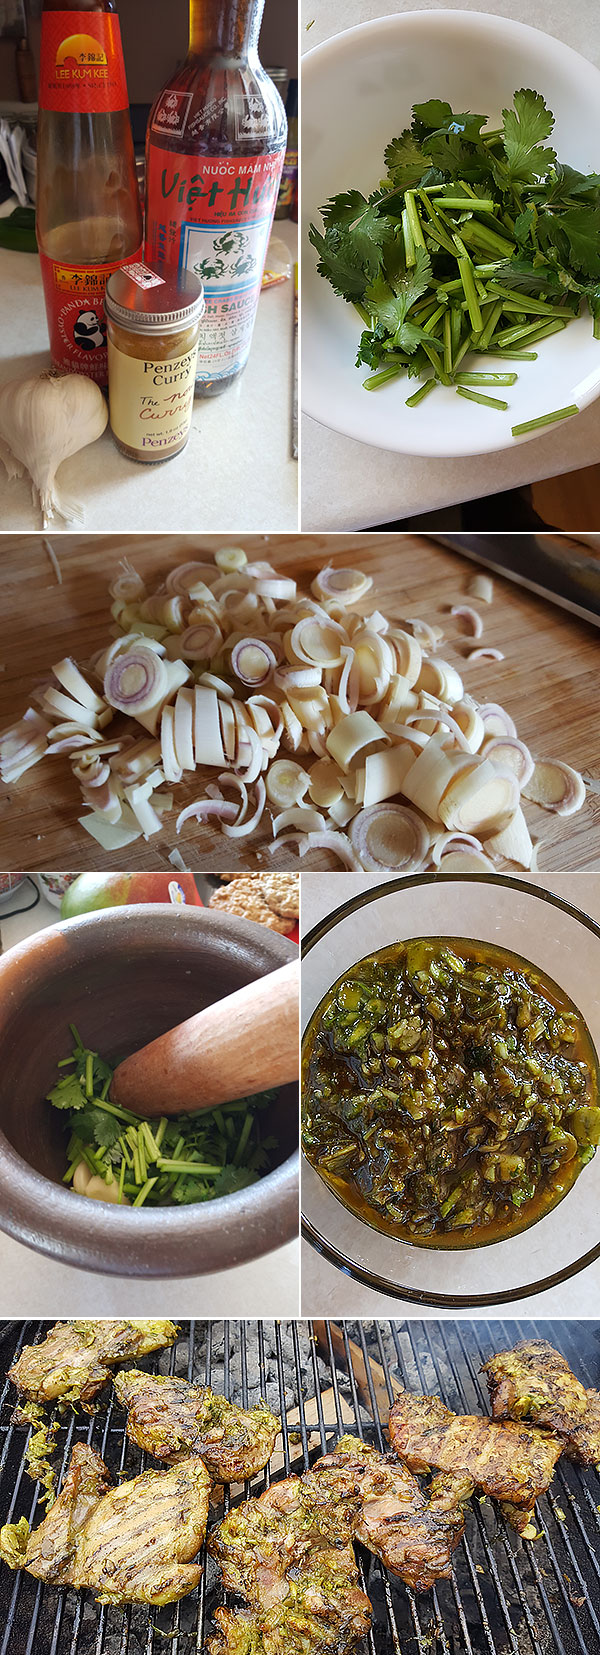
Ingredients for the Marinade: (if you have a mortar and pestle use it, otherwise your food processor)
6 cloves of garlic
1/2 cup of thinly sliced lemongrass
1/2 cup of cilantro, leaves and stems
1/4 tsp MSG, optional
3 tbsp oyster sauce
1/2 tbsp curry powder, or turmeric
1 tbsp fish sauce
2 tbsp canola oil
Start by bringing the salt, sugar and water to a boil. Once the sugar and salts dissolve into the water, remove from the stove and let it cool.
Once the brine is cool, add in the chicken pieces, cover, and let this brine for 4 hours, and up to 24.
Isan Grilled Chicken Ingredients
Make the marinade, either by using your food processor which many of you probably have, or go the authentic route and use the mortar and pestle. Make the mixture into a wet paste. Scrape into a sealable jar until the chicken is ready.
When the chicken is ready, remove it from the pot, and rinse and pat dry. Add the chicken pieces to a large sealable plastic bag, and pour in the marinade. Massage the marinade into the chicken and marinate for another 4-24 hours. The longer the better in my opinion.
Before you are wanting to grill, set the chicken out to get some of the chill off of it. I grill over charcoal, but again you can grill over wood, gas, or cook at 400 degrees until you get your internal temperature. My preference is grilling over coal for a more authentic taste.
When you have your grill going, I like to heat one side of the grill with coals and keep a warmer side with no coals. This way I can adjust the heat if things get too hot.
Place the chicken on the grill, near the coals, cover, and adjust the vents. You kind of want to go low and slow with this, slowly cooking the chicken, while any skin will get nice and crisp.
Isan Grilled Chicken Recipe
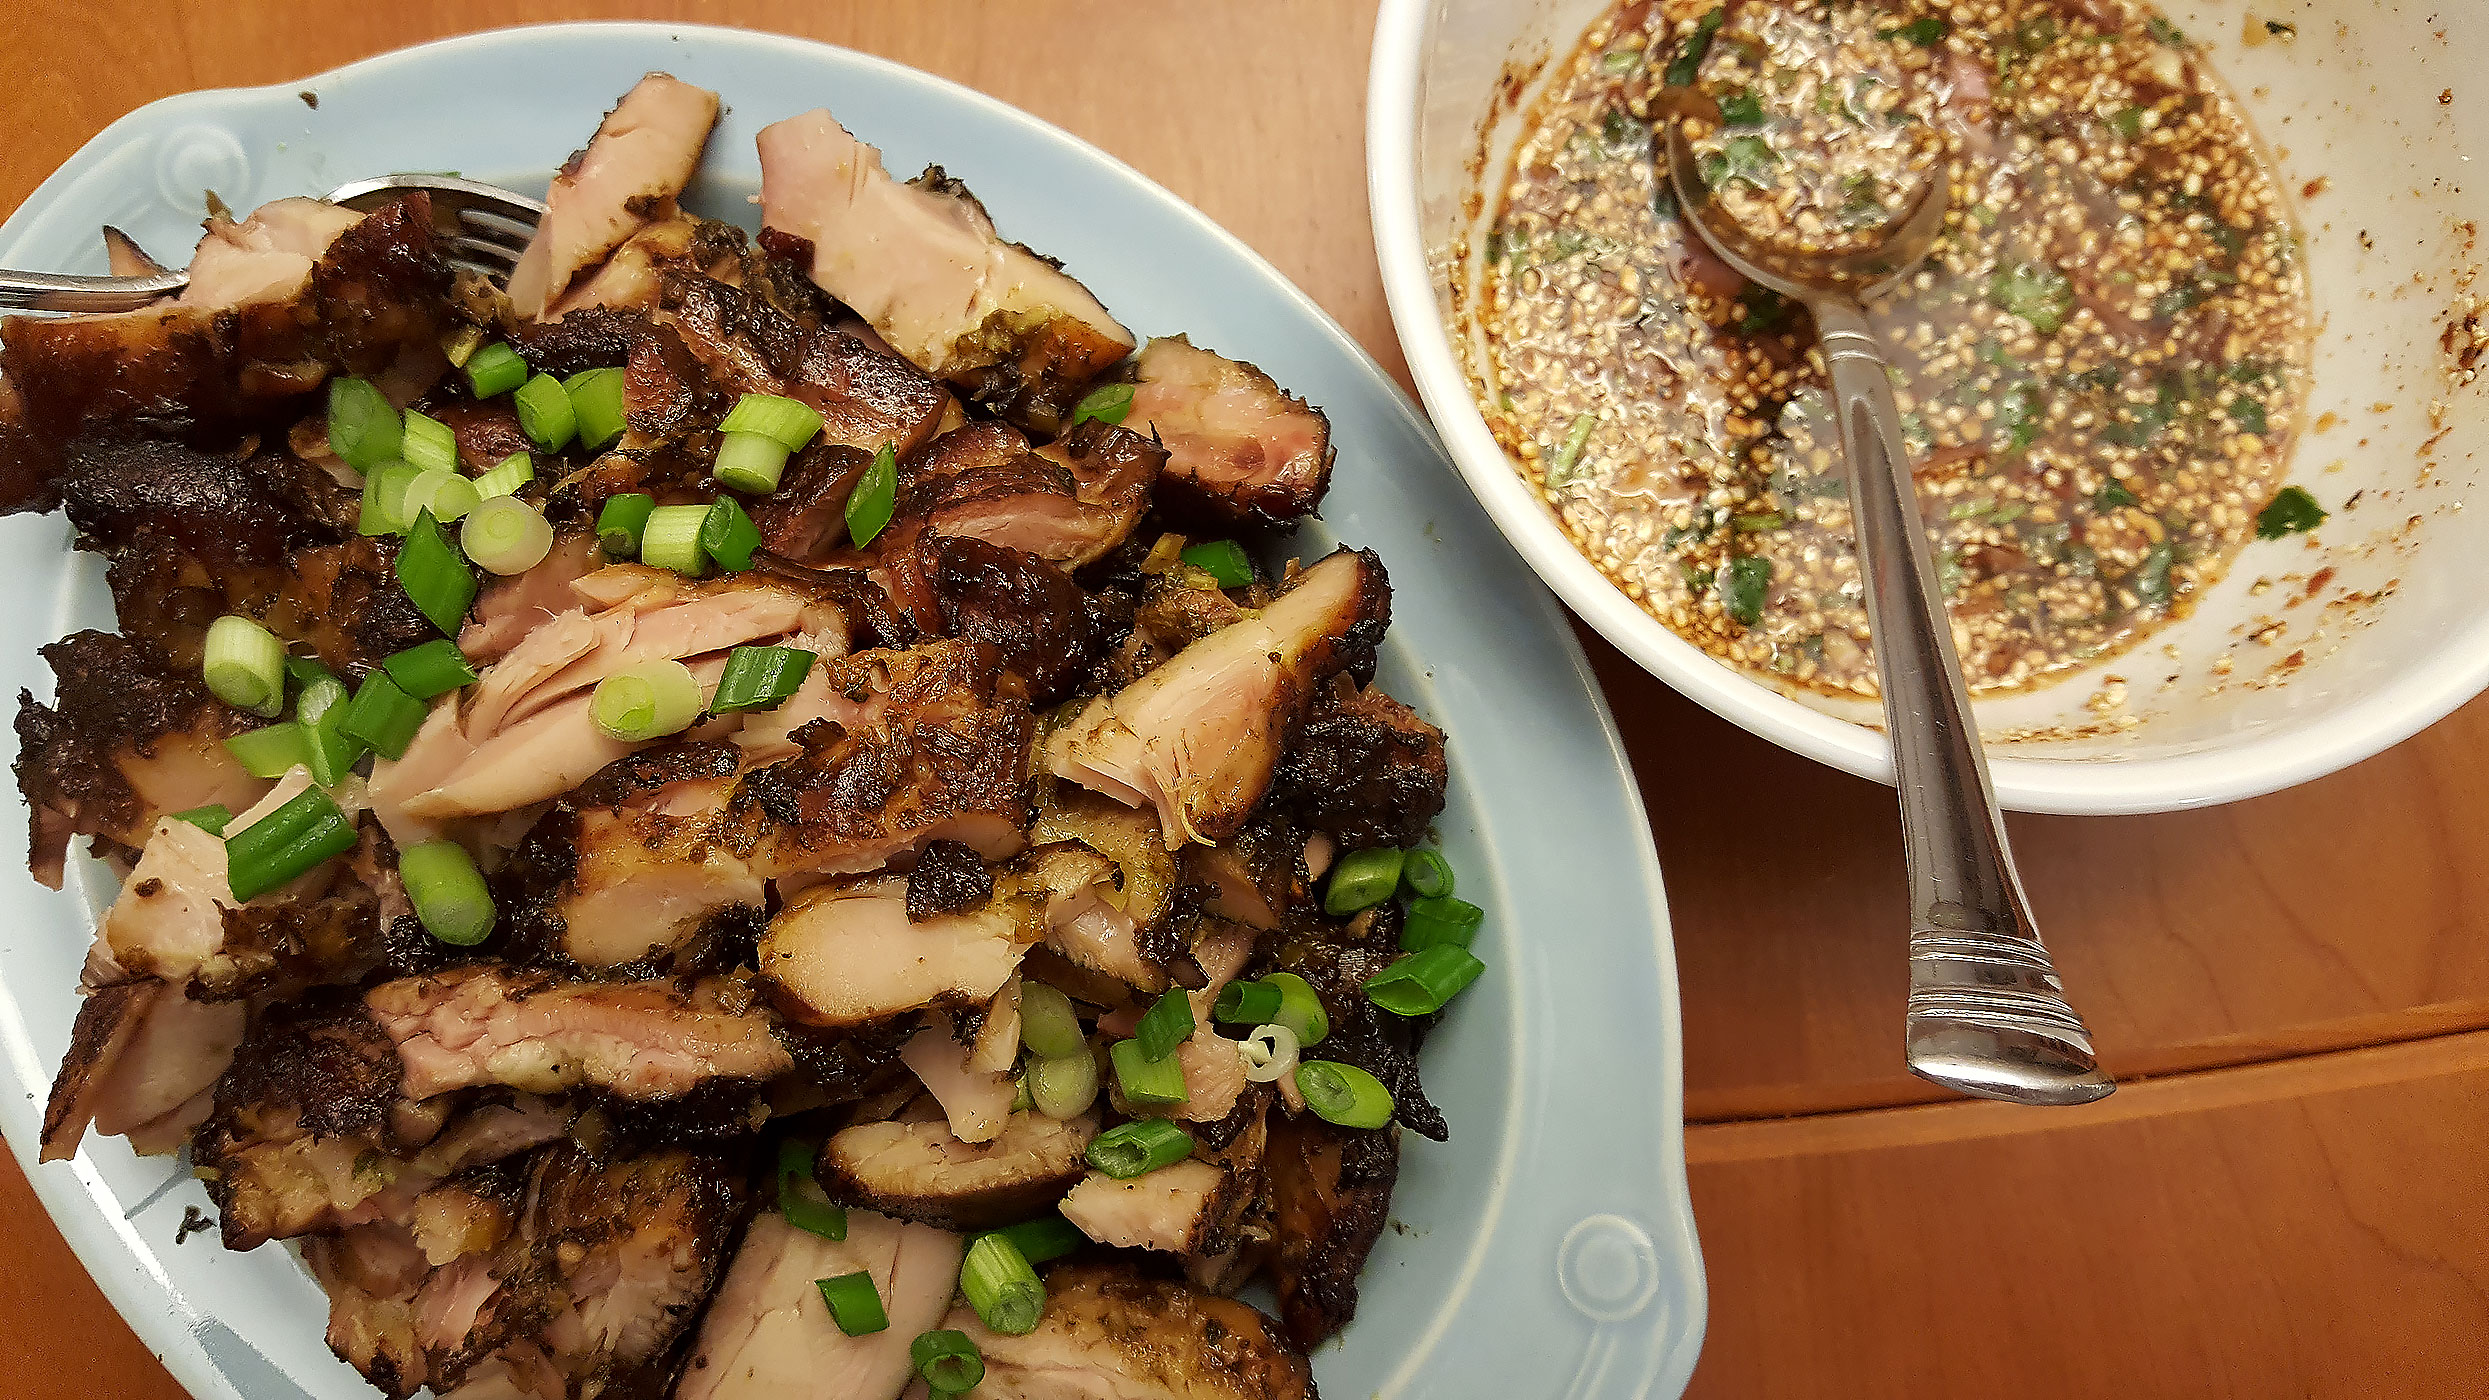
As this is cooking, feel free to whip up some dipping sauce that includes fish sauce, lime juice, chili, and a bit of sugar. Also feel free to serve this with jasmine rice, or better yet sticky rice (this is take a bit more planning, but recommended). When the chicken comes to your desired temperature, remove, and serve. Again, I used thighs, so I ended up chopping mine up as my kids love to eat stove like this in the style of larb.
Dig in and enjoy. The flavors are out of this world. A bit smoky from the charcoal, juicy from the brine, and just packed full of awesome flavor from the marinade. This is a great introduction to Northern Thai food, so give this one a try. Hope you enjoy!